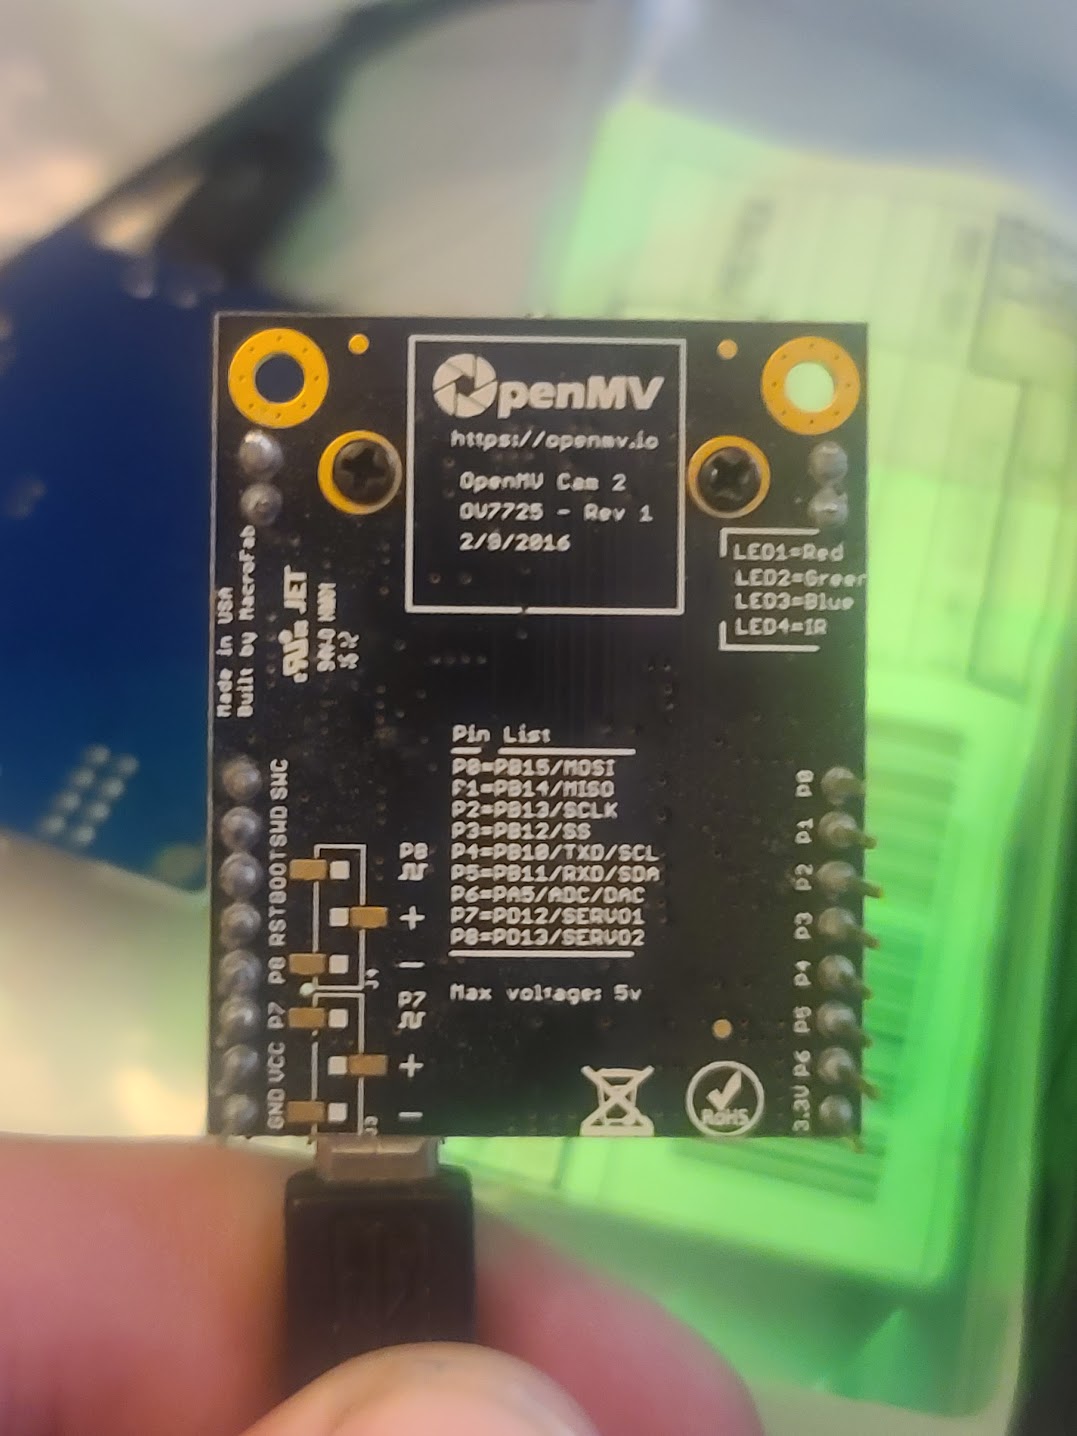
I have an OpenMV Cam 2 (OV7725 - Rev 1, 2/9/2016) I’m trying to use for the first time. I’ve confirmed my USB cable works by transferring some data from an old Android phone. I’ve installed the OpenMV IDE (along with drivers, etc) and my Device Manager (Windows) shows “OpenMV Cam USB COM Port (COM10)”. The LED on the board is blinking blue. But, when I click the connect button in the IDE, it says “No OpenMV Cams found!”.
Why does it say that no cams are found when the device is clearly recognized by the OS?
If I indicate to the IDE that I have a cam connected and it’s bricked, the board type options don’t seem to include anything matching my board.
Hi, the camera is fine. It’s just need new firmware.
Connect BOOT0 on the camera to 3.3V and then plug into the computer and click connect in the IDE. Follow the prompts about the board being bricked and select the right camera module from the menus when shown.
Your board should be the OpenMV Cam M4 in the board list or OpenMV2. We ship the latest firmware for it.
I connected BOOT0 to 3.3V and followed the instructions to update firmware. I got stuck on this screen:
My board has been blinking green for 10 minutes. No SD card is present on the board. I’m pretty sure one of the steps said it was erasing data. The internal flash drive appears to be present but the hardware configuration appears to change every second (the COM device sometimes disappears and reappears, and Explorer shows a refresh when looking at This PC where the internal flash drive is shown).
Clicking Ok leads to “No OpenMV Cams found!”. Unplugging and replugging cam leads to blinking green light. Clicking connect in IDE finds no cams, selecting Yes to a bricked cam attached then selecting M4 then indicating Yes to erase the file system leads back to the dialog at the top of this post. I have repeated this sequence 3 times with the same results.
Hi, You need to remove BOOT0 from 3.3V after the initial program.
So, the IDE should have shown you a dialog to load the bootloader which is what BOOT0 to 3.3V allows. Once that’s loaded, you need want to unplug the camera from the PC, remove BOOT0 from 3.3V, and then click connect while the camera is not connected. Go through the dialogs, then it should get to a point where it has an infinite progress bar and it’s waiting for the OpenMV Cam.
Plug it in at that point and it should be restored.
Unfortunately, thanks for these drivers being older… this process can’t be automatic from start to finish.
Yes, I removed BOOT0 from 3.3V when instructed during the firmware update sequence.
Ok, here is the full sequence performed again. I captured screenshots of everything, but the forums won’t let me attach more than 1, so I guess I’ll just mark them as placeholders.
Unplug cam from computer
Connect BOOT0 to 3.3V with jumper wire
Plug cam into computer (observe no lights)
Click connect in IDE
Select "Install the latest release firmware (v4.4.3), do not change “Erase internal file system” checkbox (leave it unchecked), click OK
Select “OpenMV Cam M4 (STM32F427)”, click OK
Unplug cam from computer
Remove jumper wire (note that the jumper wire was NOT between BOOT and RST as indicated in the dialog)
Plug cam into computer (even though this is not indicated in the dialog)
Observe green flashing immediately
Click OK
Select “OpenMV Cam M4 (STM32F427)”, click OK
13.Click Yes
Observe Erasing… progress bar then Programming… progress bar
Wait 10 minutes
Observe no change to green flashing and frequent changes in hardware configuration (see previous post)
Click OK
Click OK
Click Yes
Select “OpenMV Cam M4 (STM32F427)”, click OK
Click Yes
Observe Erasing… progress bar then Programming… progress bar (we are back at step 14)
Can you send me a picture of the board? It sound like the firmware is corrupt. Does the programming process finish? But, then on reset it’s back to the bootloader?
Thanks for all the prompt responses – much appreciated! Based on that, I now also have an H7 on the way, so probably don’t sink all your time into this issue
Firmware version 4.2.0 works if you upload via DFUSE demo which is in the IDE. Looks like something to do with our custom bootloader and firmware. V4.2.3 doesn’t work.